Observe Before You Remove
Restoration starts with understanding the piece. The course approach encourages checking the existing finish, wood grain, veneer, scratches, loose joints, and hardware before deciding what should be cleaned, repaired, sanded, or left alone.
Practice on Manageable Surfaces
Drawers, shelves, removable panels, and scrap wood provide useful places to test sandpaper grits, filler, stain, paint, oil, wax, and application pressure before working across a larger visible surface.
A Restoration Process You Can Follow
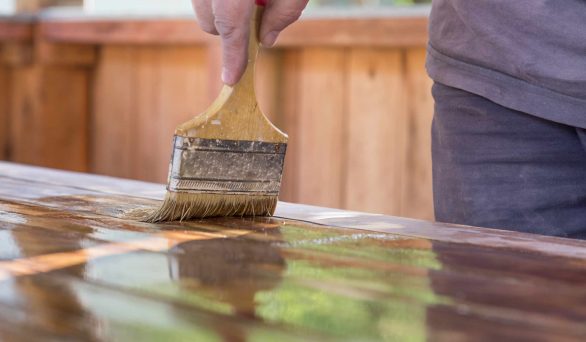
RestoreForm separates the work into clear decisions: assess the furniture, clean the surface, make necessary small repairs, prepare the wood, test the chosen finish, and inspect each stage before continuing. This helps reduce rushed sanding, uneven filler, missed dust, and overly thick coats.
What Learners Notice
Small changes in sanding pressure, surface inspection, filler leveling, and finish testing can make the restoration process easier to understand and control.
I stopped sanding every worn area automatically and began checking what actually needed attention. Testing the finish on a hidden section also made the final choice much easier.

Marina Iguchi
Using different sandpaper grits on scrap wood helped me see why my earlier surfaces
had deep scratches. I now change grit
more carefully and inspect before
moving on.

Koharu Murata
The biggest improvement for me was slowing down between stages. Removing dust and checking filler under side light showed problems I would have covered with paint before.

Masaki Kasahara
Preserve sound material instead of sanding deeper than the surface actually requires.
Test cleaners, fillers, colors, and finishes on a small area before treating the whole piece.
Inspect between stages so scratches, dust, glue residue, and uneven repairs are corrected before the final coat.