Here’s how to know if a surface is truly ready for staining, painting, oiling, waxing or top-coating. A surface might look clean but be totally unsuitable for stain, paint, oil, wax or clear finish. Picture sanding a drawer front until it feels smooth. You wipe the dust off and apply the first coat. Now there are dark scratches, a filled chip stands out as a bump and a corner doesn’t take the finish well. The finish didn’t cause any of these issues. It just made them more apparent.
First, is the surface clean? Remove sanding dust from the grain, corners, edges, joints, crevices and details. Don’t sweep it around with a cloth. Also look for other contaminants like old grease or wax, loose coating, or glue residue. Handles, drawer pulls and edges are often areas where these accumulate. If the piece has an old finish of unknown composition, don’t assume that aggressive sanding or a specific solvent will work. Use a small spot for testing.
Next, inspect the sanding pattern. Sweep a bright light along the surface from the side. Scratches that seem to vanish when viewed head-on may be quite visible in raking light. The surface shouldn’t have distinct deep scratches, glossy spots that weren’t sanded, or excessively rounded edges. Also run your fingers over the filled areas. Raised filler isn’t always obvious until the finish alters the sheen.
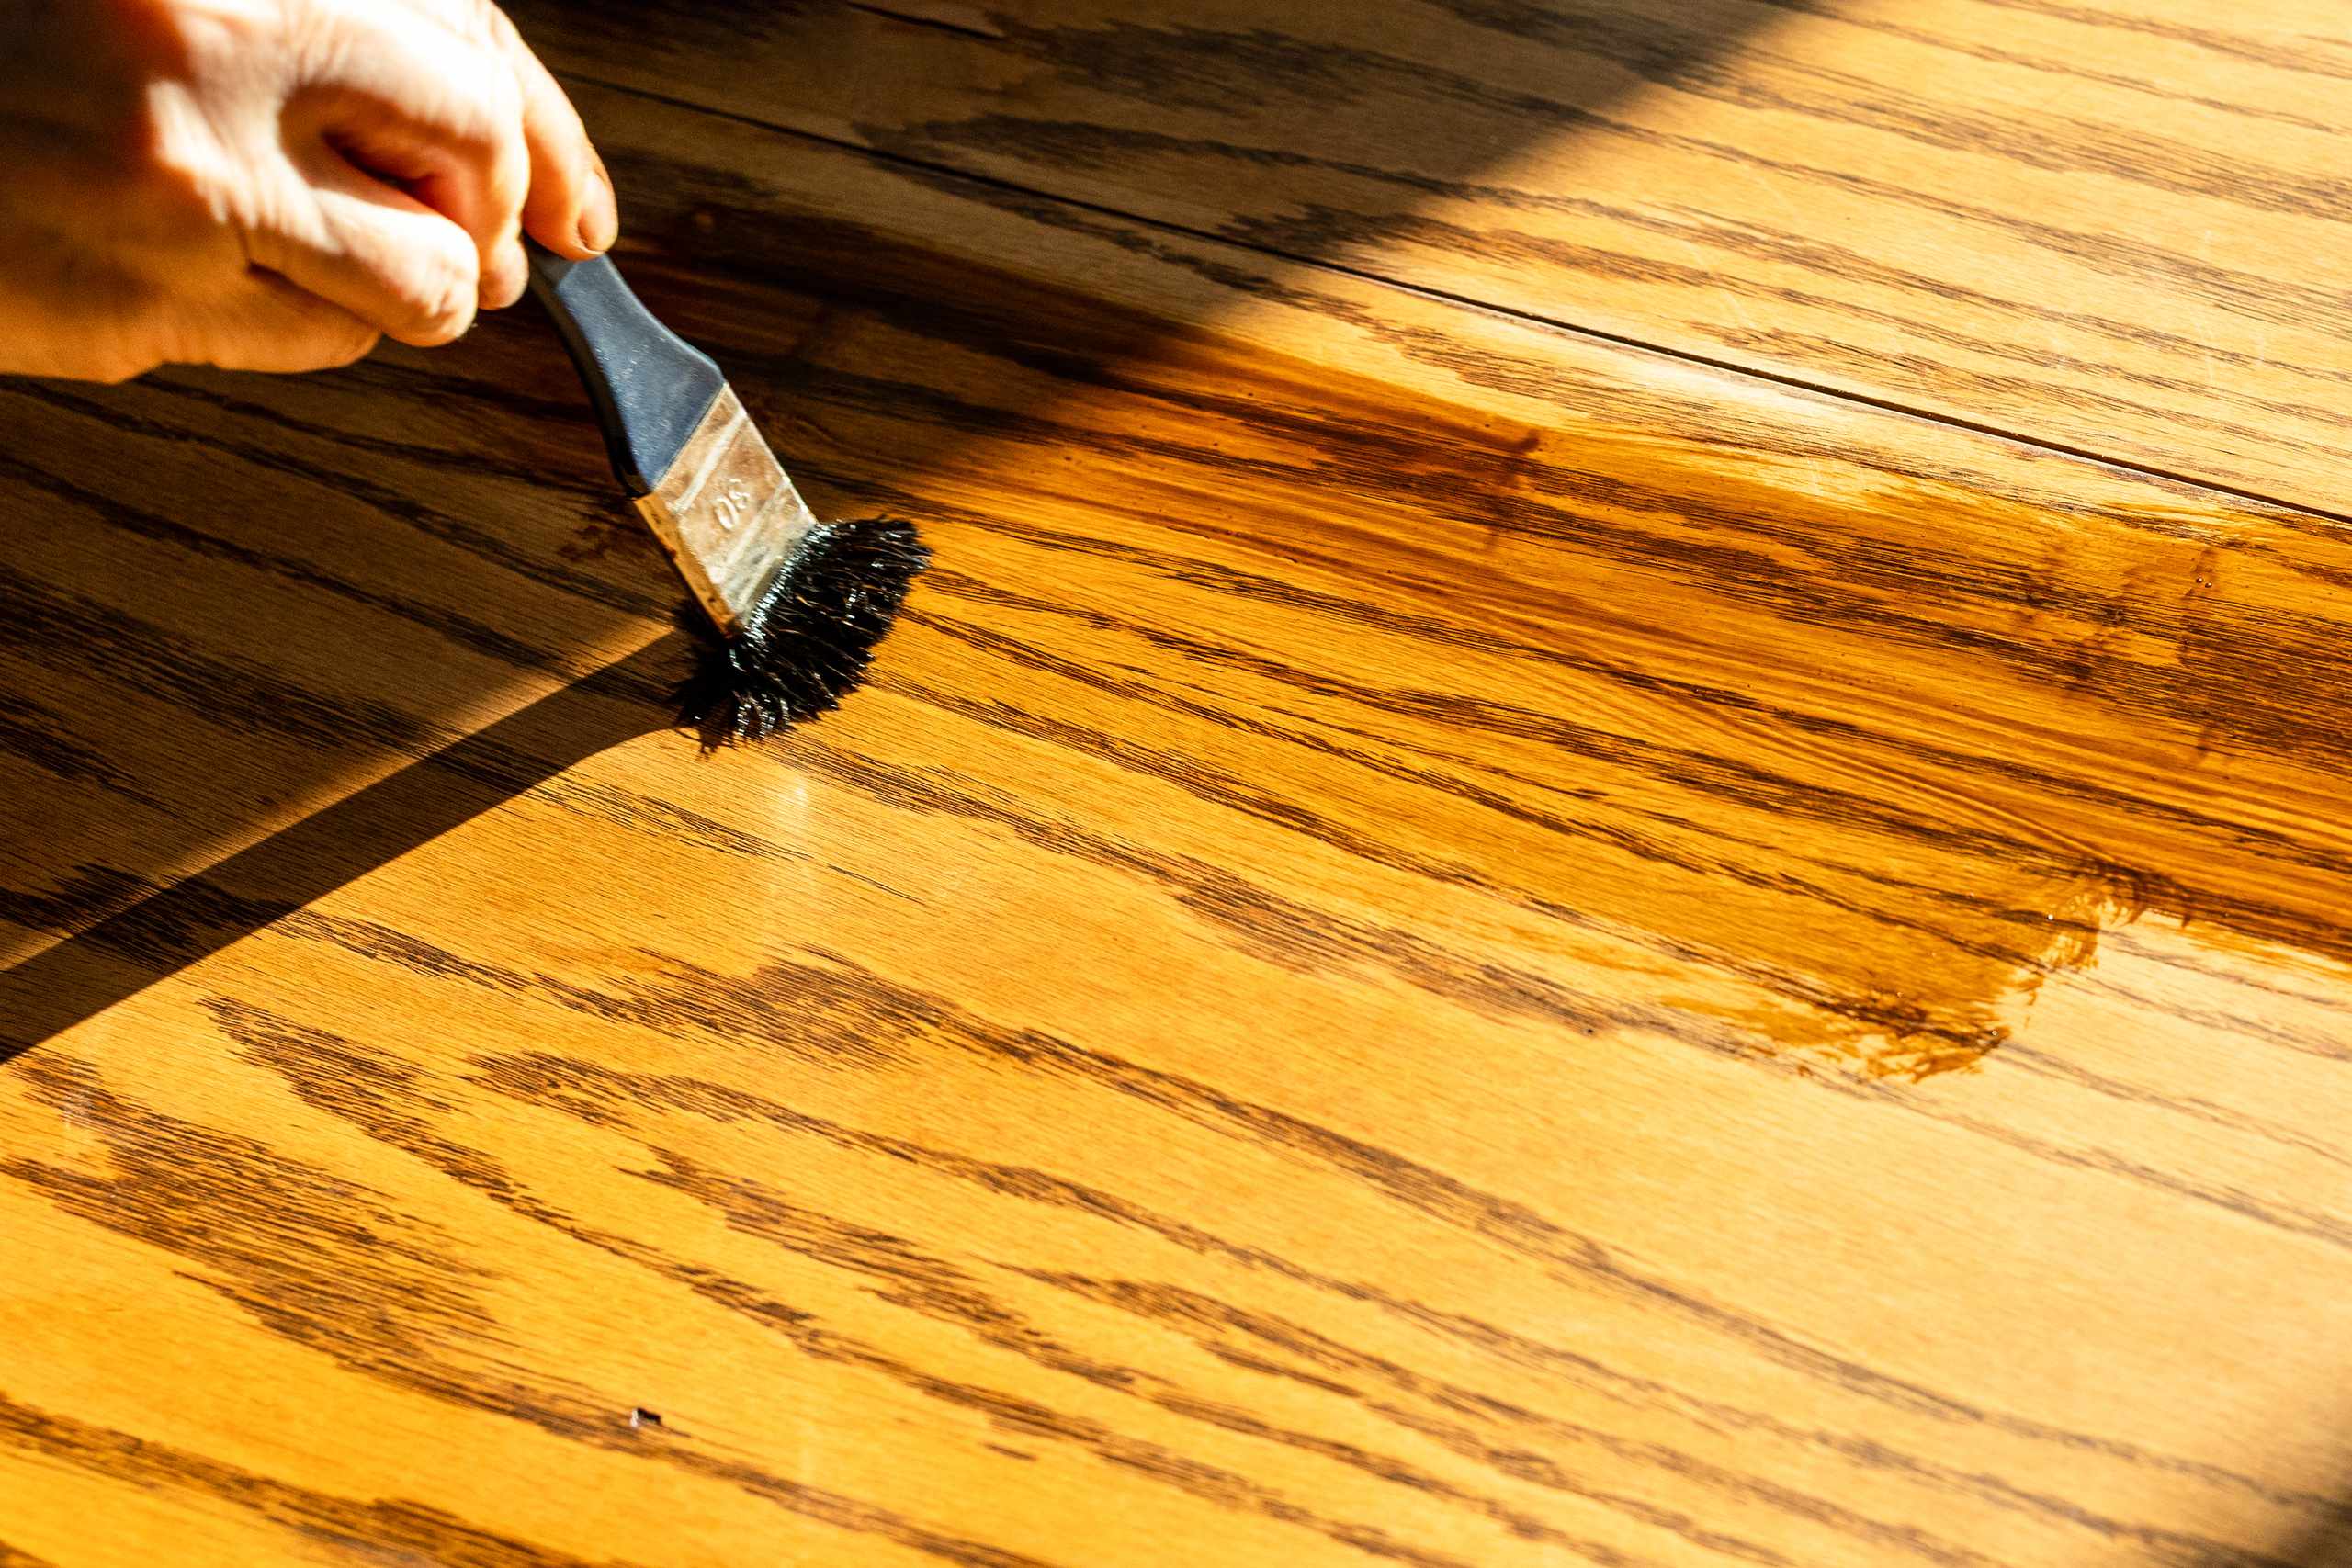
This is a good time to do a test spot. Find an inconspicuous spot that’s been cleaned, filled and sanded as much as the rest of the piece. Apply some of the finish you plan to use and follow its directions. The test isn’t meant to predict the overall appearance of the piece, but rather to indicate possible preparation flaws. Look for unanticipated color shifts, sanding scratches, blotchiness, brush marks from surface irregularities or an uneven look.
Sometimes people keep sanding while they wait for the wood to look “finished.” This can be counterproductive. More sanding isn’t always the answer, especially around veneers, corners and edges. The surface should just be good enough for the finish you’re using. If the scratches are uniform, the repairs are flush, there’s no dirt or grime, and the piece seems ready for a new coating, further sanding probably isn’t helping.
Before applying finish, stop after you’ve dusted the surface and don’t rush to pick up the brush. Step back and look at the piece from different angles. Examine filled chips, dents, edges, corners, glue seams and areas around hardware. How do they compare with the surrounding wood? If one spot appears significantly smoother, rougher, shinier or differently colored, investigate. Spending a few extra minutes to evaluate now will save you from turning the next coat into a corrective step.
Simply put, are you able to scan the surface and not find an existing imperfection you already know needs fixing? If there’s dust left in crevices, filler is still proud, scratches are still deep, or there’s a suspicious spot that hasn’t been evaluated, the surface isn’t ready just because you want to see the finished color. Wait until you can answer the prep questions before starting the finish.