
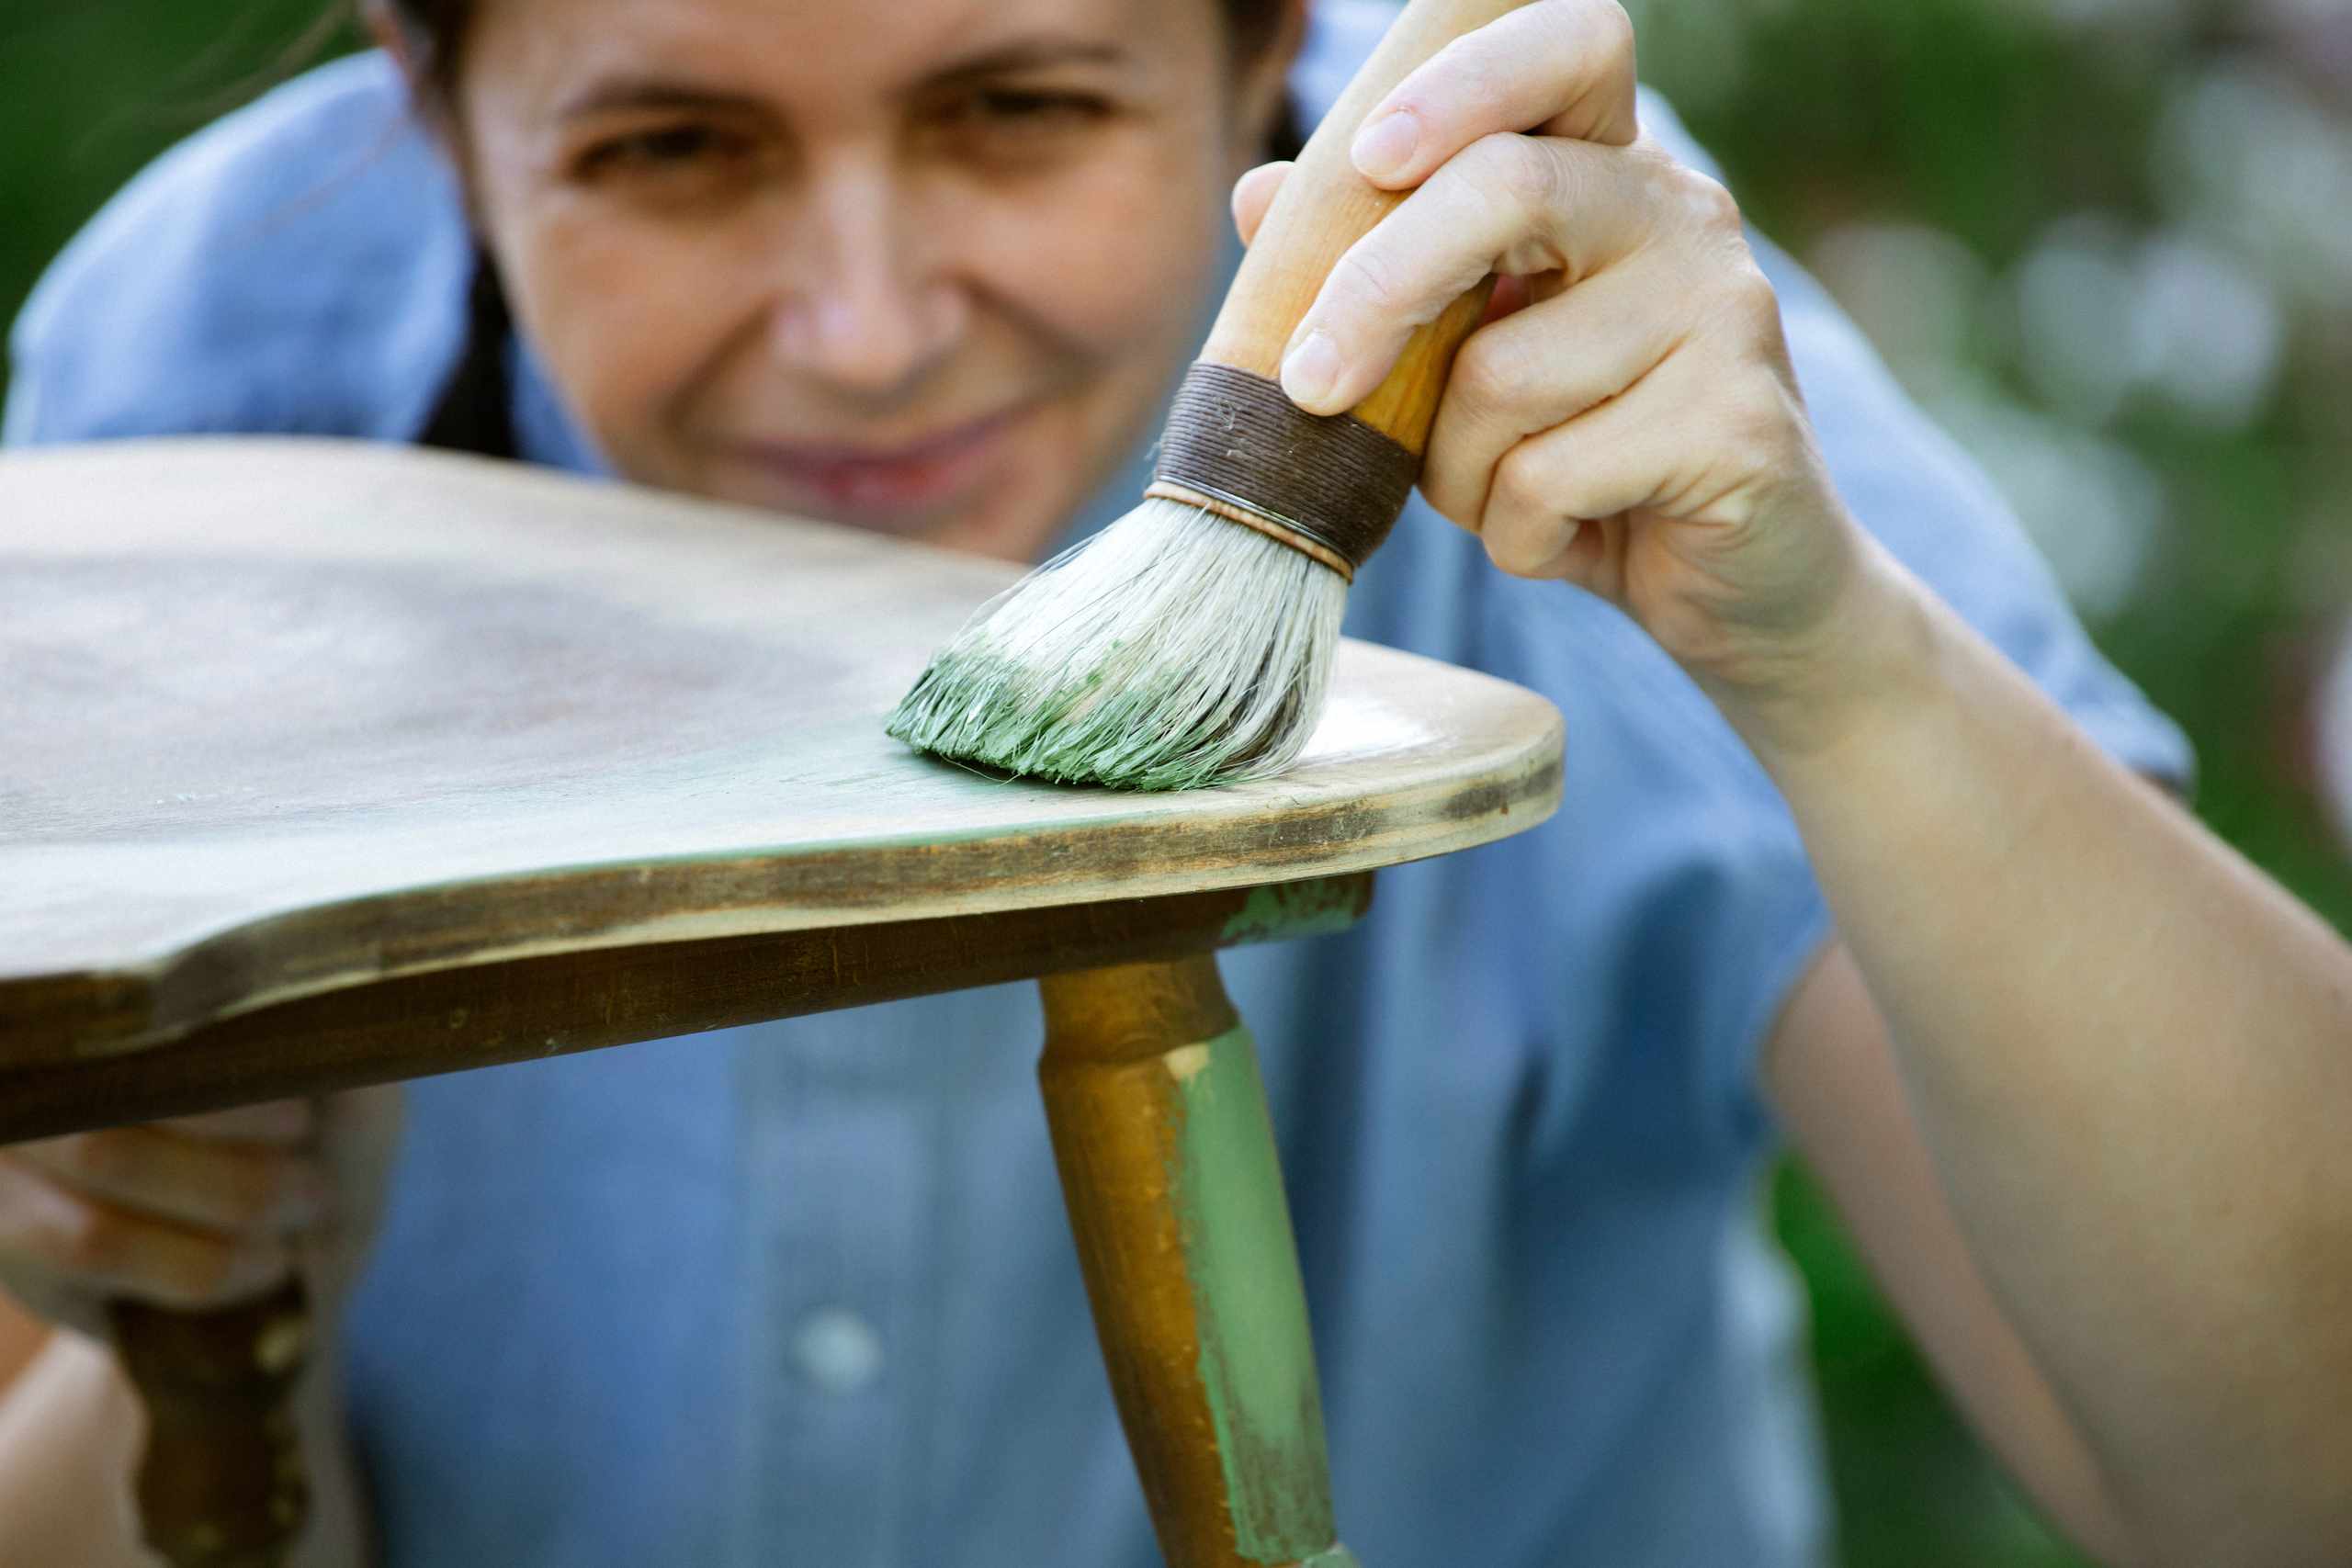
If you are looking at an old table, chair, drawer or cabinet, you may feel compelled to start sanding. There are likely scratches, dull areas and chips in the finish that seem like they ought to be sanded away. However, when you sand you lose some of the wood or veneer or existing finish; and you cannot get it back. Therefore, you must inspect the piece first and determine if some areas require only cleaning or a little repair, others light sanding or no intervention at all.
First, examine the furniture’s construction to see if it is solid wood, veneer, or a mix. Veneer requires special attention because the wood on top may be thin enough to sand through. Look along the edges and corners of surfaces for changes in grain or layers that might give clues as to how the piece was constructed. Test all moving parts such as drawers, doors, handles and hinges. Loose joints or damaged drawer runners are not problems solved by sanding.
Examine the finish instead of focusing on the color of the piece. Look for areas that are flaking, worn through, sticky, hazy or intact. Some areas that look dark or dull are dirty, oily or waxy rather than damaged. Try cleaning a hidden area with a cleaner suitable for the finish to see what lies beneath. The appearance may improve significantly with less stripping than you anticipated.
Lighting will aid the inspection. Position the piece so light shines across it rather than down onto it. Low light will show dents, deep scratches, raised glue from previous repairs, uneven filler used in past fixes, and changes in sheen. Use your fingers to feel for ridges, depressions and loose edges that may be difficult to see. Note them before you start sanding.
Practice distinguishing between cosmetic wear and actual damage that needs to be fixed. Find a small part of the piece that you can work on without too much effort, such as a drawer front or shelf, and imagine it divided into sections. You can compare an undamaged area, a scratched area, an edge and a patch with bad finish. Determine what each area really needs. An area may only need cleaning, another may need light hand sanding, while a dent may require filler or some other repair. It does no sense to sand the entire piece if it is only one area that looks damaged.
Record the hardware on the furniture before you remove it. Take pictures of hinges, handles, screws and their placement, and keep track of the hardware as it comes off. Some older pieces have different lengths of screws or hardware that has settled in a specific position. Keep the pieces labeled and organized for reassembly. If the furniture has serious structural issues, extensive veneer damage, or possible historical value, that knowledge can help you decide whether this is a good candidate for refinishing.
You should end up with a plan that does not call for sanding the whole thing. Decide which areas need cleaning, which areas have small flaws that require light repair, where the finish is damaged, and where the surface is fine. Doing so will minimize the chances of rounding over edges, removing too much finish or leaving marks with coarse sandpaper. Once you have finished the inspection, examine the wood grain, edges, joints and finish sheen. If you understand why each area needs to be treated, you are ready to proceed.